|
|
|
|
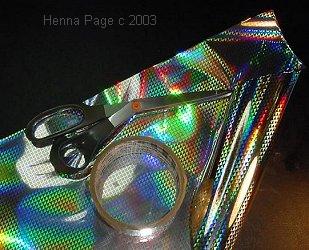
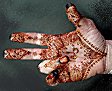
A hand rolled mylar or cellophane wrap cone is one of the best tools for the professional henna artist! They make fine lines and are easy to use. Want to watch a cone-rolling video? Go Here! Find "Mylar Holowrap", "Prismatic Gift Wrap" .... or whatever mylar gift wrap is called by the retailer. This gift wrap does not have a paper backing. It's silvery on front and back, but it is not metal. It's a firm, but not crinkly, mylar. Florist wrap does just fine, and cellophane wrap is ok as long as it's not too thin. Mylar tissue is thinner, more difficult to work with. Mylar wrap is firm enough to make a tight, hard tip so you can draw fine precise henna lines. If you get some samples, it's easier to go look for it at the store! Mylar and cellophane wraps make beautiful cones! |
You'll need scissors, tape and mylar wrap. |
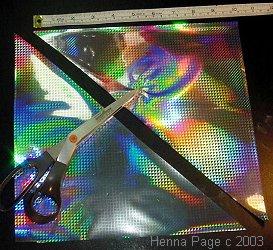
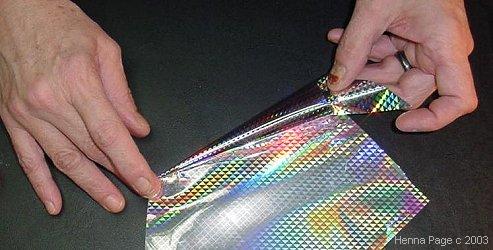
Some people like large cones from a 12" square (33 cm). Some people like medium cones from a 9" square (25 cm). Some people like little cones from a 6" square (15 cm). Try a few sizes and see what you like. Cut the square diagonally in half. |
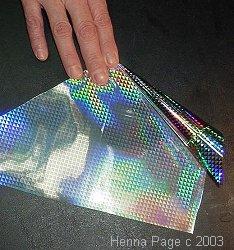
Lick your finger and put it in the center of the diagonal. Start twirling the cone against your fingertip. |
Keep pivoting the twirl against your fingertip, and keep twirling to make the cone. Keep going, and keep your fingertip down tight. Twirl the cone on around. | 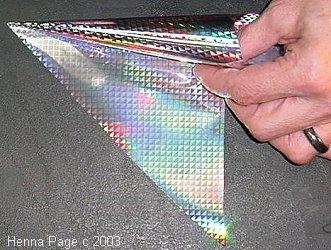 Keep going until you have twirled the triangle into a cone with a tight tip. |
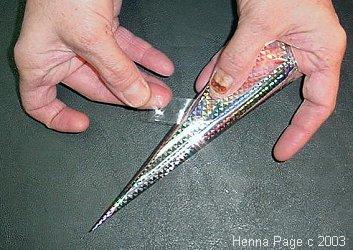
Tape the seam on your cone. Firm up the tip with tape if you like. Some people use lots of tape, some use a little. |
|
| Can't find what you want
here? Try The Henna Page Main Index. All text and images on this page copyright 2003 all rights reserved Catherine Cartwright-Jones The Henna Page |
 |  Order Desk and Help Desk 330-673-0600 (EST USA) Leave a message with your name and phone number and we'll call you! Or, email info@mehandi.com and we'll call you. |  Click HERE for FREE henna books from TapDancing Lizard® History, Traditions, Science, Patterns and related arts! |  Empire Visit the Henna Page brick and mortar store at 135 E. Main St., Kent, Ohio, USA The Empire of Magical Thought |
 |  Ancient Sunrise ® Henna: laboratory tested for quality and purity All
Ancient Sunrise® henna is tested by an independent laboratory to assure
that our henna has high lawsone content, no lead, no pesticides,
and no contaminants or adulterants. |  Who Runs this Place? Contact: info@mehandi.com |  Shipping, Return and Refund Policy TapDancing Lizard ® LLC group includes The Henna Page ® Mehandi Henna for Hair Empire LLC Bittersweet's LLC Ancient Sunrise ® and more |