|
|
|
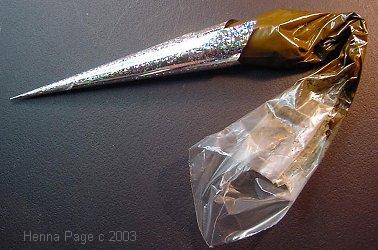
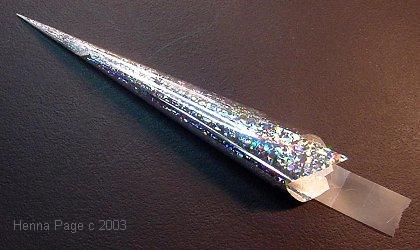 Tape the inside seam so your cone is easy to refill. (It's tough to find the right way in when you reopen it if you don't have that secured.) |
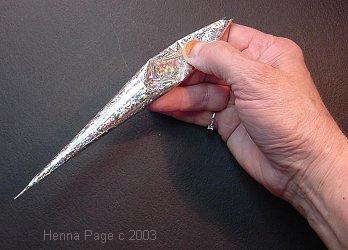
Put in the henna paste with a carrot bag. Fill it about halfway up or it'll splosh out the top when you start folding it down. |
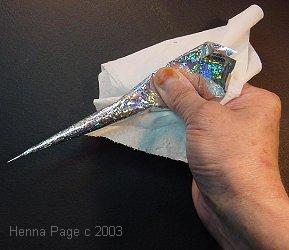 Push the henna down into the cone and use gloves or tissue to keep your hands clean. |
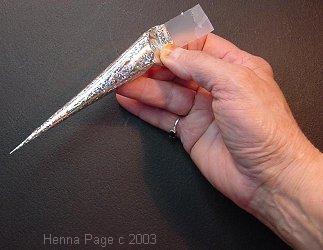
Fold the sides of the cone in. |
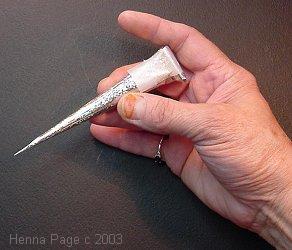
Fold the top down several turns, and put a piece of tape back there. If you fold a little of the tape down, you'll have a "pull tab" so you can open the cone and refill, or tighten it down when you've used up some of the paste and it gets hard to squeeze. |
Tape the cone down TIGHT so you don't have to squeeze so hard. |
Index of "How": Mixes and Techniques | All text and images on this page copyright 2003 all rights reserved Catherine Cartwright-Jones The Henna Page |
 |  Order Desk and Help Desk 330-673-0600 (EST USA) Leave a message with your name and phone number and we'll call you! Or, email info@mehandi.com and we'll call you. |  Click HERE for FREE henna books from TapDancing Lizard® History, Traditions, Science, Patterns and related arts! |  Empire Visit the Henna Page brick and mortar store at 135 E. Main St., Kent, Ohio, USA The Empire of Magical Thought |
 |  Ancient Sunrise ® Henna: laboratory tested for quality and purity All
Ancient Sunrise® henna is tested by an independent laboratory to assure
that our henna has high lawsone content, no lead, no pesticides,
and no contaminants or adulterants. |  Who Runs this Place? Contact: info@mehandi.com |  Shipping, Return and Refund Policy TapDancing Lizard ® LLC group includes The Henna Page ® Mehandi Henna for Hair Empire LLC Bittersweet's LLC Ancient Sunrise ® and more |